Hosting a UT2004 Server can be FREE and Easy!
Requirements
- A Google Account
Steps
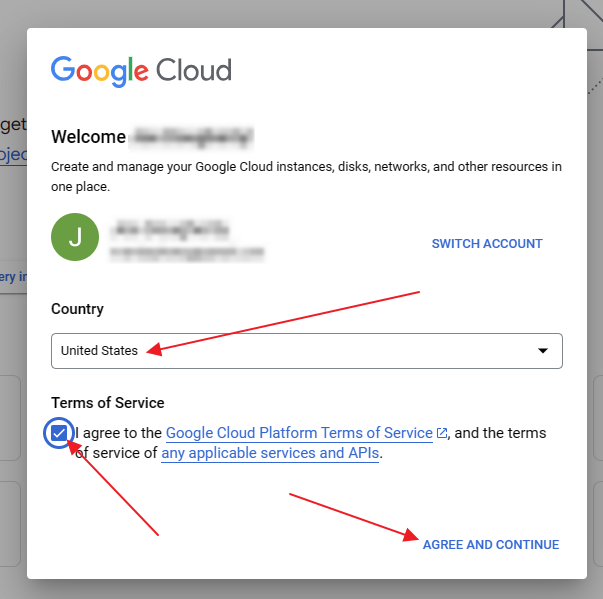
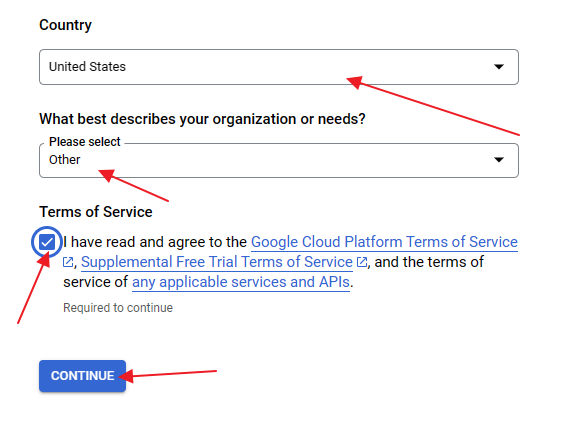
- Head to https://console.cloud.google.com and set up your Google account for a Cloud account. Choose your country and accept the terms of service.
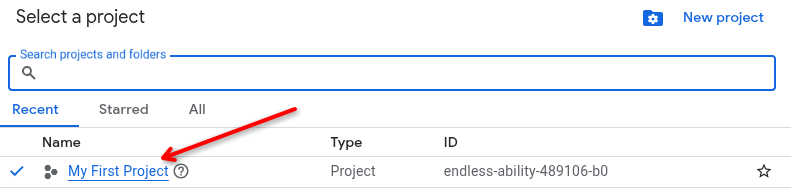
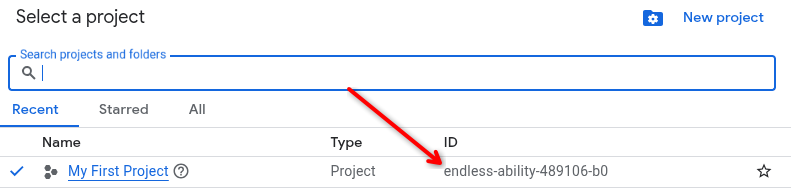
- Select a project by clicking the “Select a project” dropdown (a starter project should already exist) and clicking on the project name.
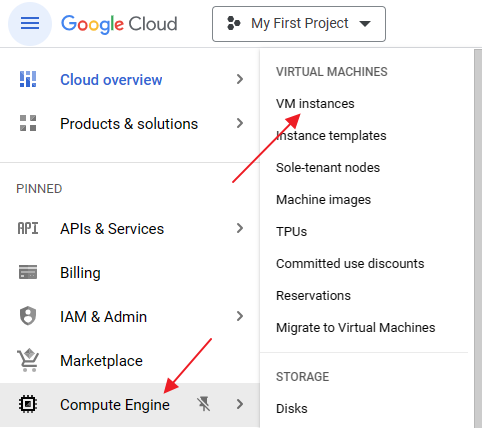
If you’ve already used Google Cloud before, I would make a new project for this. - Once in the project, navigate to the Compute Engine section by clicking on it on the lefthand menu or searching in the search bar at the top and choose “VM instances.”
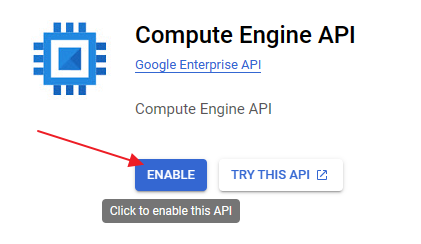
- Click on the “ENABLE” button to enable the Compute Engine API.
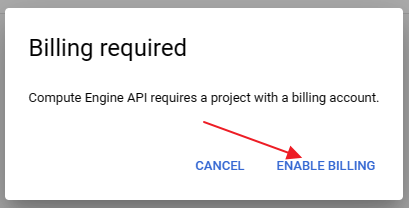
- A billing account is required to enable this, click on “ENABLE BILLING”.
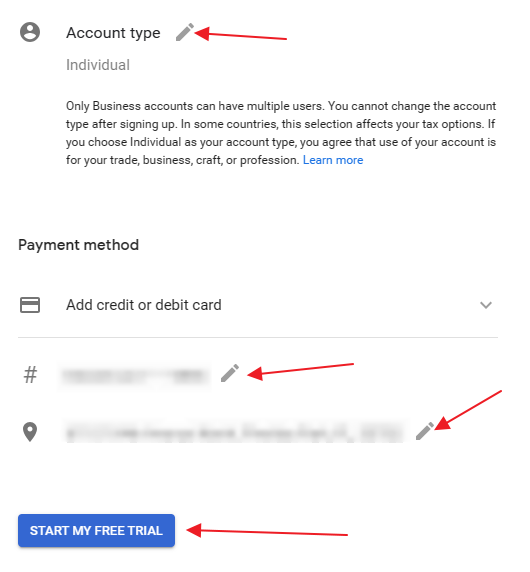
This will require you to put in payment information. Choose the “Individual” account type.
DO NOT WORRY! The method we’re doing here will not cost you anything, and we’ll set up alerts in case it starts costing more than a penny - but Google does require payment info before giving you hardware (fair enough).
Once you set up your billing profile, it will take a minute or two before it registers. Go back to the previous steps and click “Enable” for Compute Engine API every few minutes until it prompts you to select a billing profile (instead of the “Enable Billing” window). - Once the Compute Engine API is enabled (may take a few minutes), go to the “VM instances” area inside of the Compute Engine section and click on the Cloud Shell icon.

- Navigate to this GitHub Gist and copy the second command into your text editor of choice to edit the <PROJECT_ID> and values.
Pick one of these zones closest to you (these are the only options for the free tier):
- us-central1-a
- us-central1-b
- us-central1-c
- us-central1-f
- us-east1-b
- us-east1-c
- us-east1-d
- us-west1-a
- us-west1-b
- us-west1-c
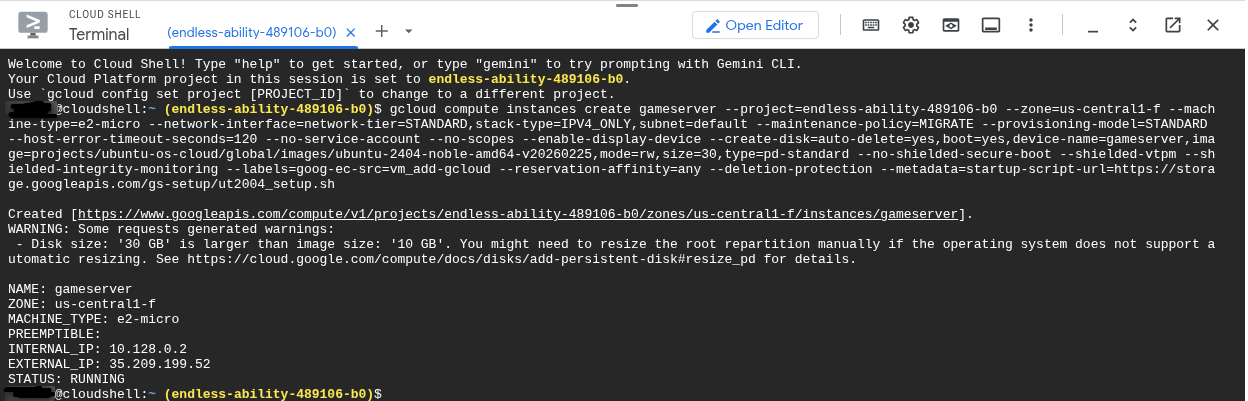
- Paste the first command (from here) into the Cloud Shell terminal and let it run.
gcloud compute firewall-rules create allow-game-ports --direction=INGRESS --priority=1000 --network=default --action=ALLOW --rules=udp:7777,udp:7778,udp:7787,udp:10777,tcp:8075 --source-ranges=0.0.0.0/0 --target-tags=game-server
This first one adds firewall exceptions for the UT2004 server to be accessed.
[The code pasted here is for reference, copy from the Github Gist link above to ensure it’s the clean/updated version.] - Paste the second command from your text editor into the Cloud Shell terminal and let it run. It will take about 15-20 minutes for the UT2004 setup script to complete.
gcloud compute instances create gameserver --project=<PROJECT_ID> --zone=<ZONE> --machine-type=e2-micro --network-interface=network-tier=STANDARD,stack-type=IPV4_ONLY,subnet=default --maintenance-policy=MIGRATE --provisioning-model=STANDARD --host-error-timeout-seconds=120 --no-service-account --no-scopes --enable-display-device --create-disk=auto-delete=yes,boot=yes,device-name=gameserver,image=projects/ubuntu-os-cloud/global/images/ubuntu-2404-noble-amd64-v20260225,mode=rw,size=30,type=pd-standard --no-shielded-secure-boot --shielded-vtpm --shielded-integrity-monitoring --labels=goog-ec-src=vm_add-gcloud --reservation-affinity=any --tags=game-server --metadata=startup-script-url=https://storage.googleapis.com/gs-setup/ut2004_setup.sh
[Again, rememmber to replace “<PROJECT_ID>” with the project ID you made before, and “” with the server closest to you from the above list. The code pasted here is for reference, copy from the Github Gist link above to ensure it’s the clean/updated version.]
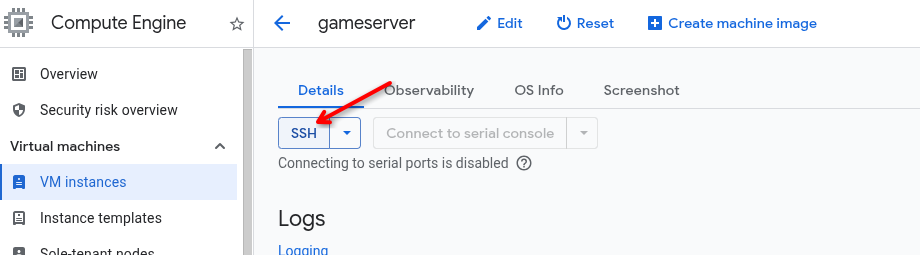
- You can login to your new VM using the console and check the status of the install using this command:
sudo tail /root/ut2004_setup.log
- Look for “Setup successful. Flag file created.” at the end of the script to confirm it has completed.
- Edit the /home/ut2k4server/serverfiles/System/ut2k4server.ini file to your liking and also change the Admin password.

To understand more about UT2004 server management, check out this: Server Setup\ (UT2004) - UnrealAdminWiki and this: Unreal Tournament 2004 | LinuxGSM_
[For transparency, the full server setup script can be seen here: https://storage.googleapis.com/gs-setup/ut2004_setup.sh ]
Spending Alerts
As long as you don’t use a ton of bandwidth on this server in a given month, this will stay free. But if you want to be safe, we can set up an alert to notify you when your account costs more than 1 cent!
- Return to the Cloud Shell terminal
- Run the following command:
gcloud billing accounts list
This will give you your billing account ID that we will fill in the next command. - Run the following command, replacing “[YOUR_ACCOUNT_ID]” with the account ID from previous step:
gcloud billing budgets create --billing-account=[YOUR_ACCOUNT_ID] --display-name=“Spend-Alert” --budget-amount=0.01USD --threshold-rule=percent=1.0,basis=current-spend - Enjoy!
You can check out the server details for the UT2004 servers I provide here: Unreal tournament 2004 server details