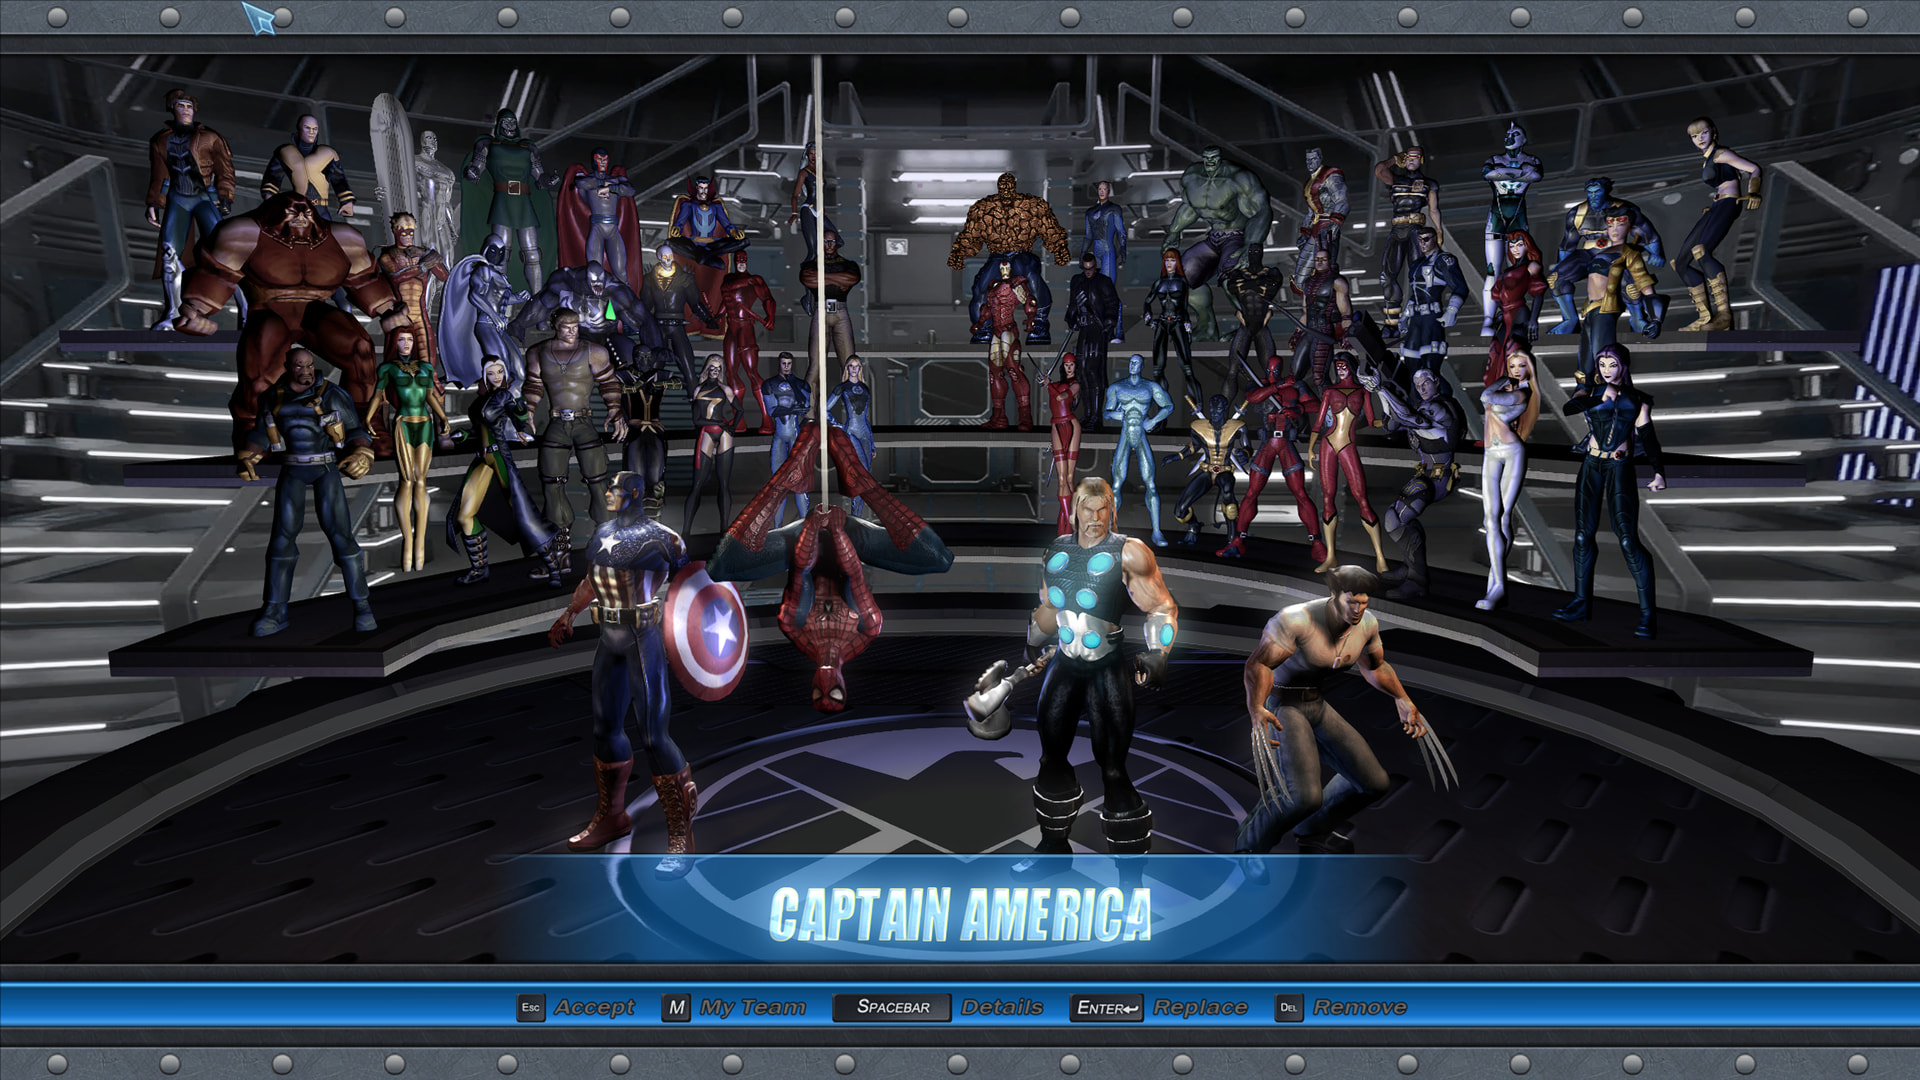
I really enjoyed the Marvel Ultimate Alliance 1&2 games when I put time into them back in the day. In ~2023 I discovered that the different versions of the game on different systems got unique characters added to the game, and that the 2016 “remaster” was a horrible release. Both versions are now delisted, but you want the original 2006 version. Thankfully, they’re highly moddable to expand the roster and include the missing characters, so here’s the path to both running the game on Linux and modding it up!
Install the Game
-
Legally acquire the game.
You can legally get copies of the game from here: Essential Info -
Mount the ISO or open in Ark and extract the files to a folder.
-
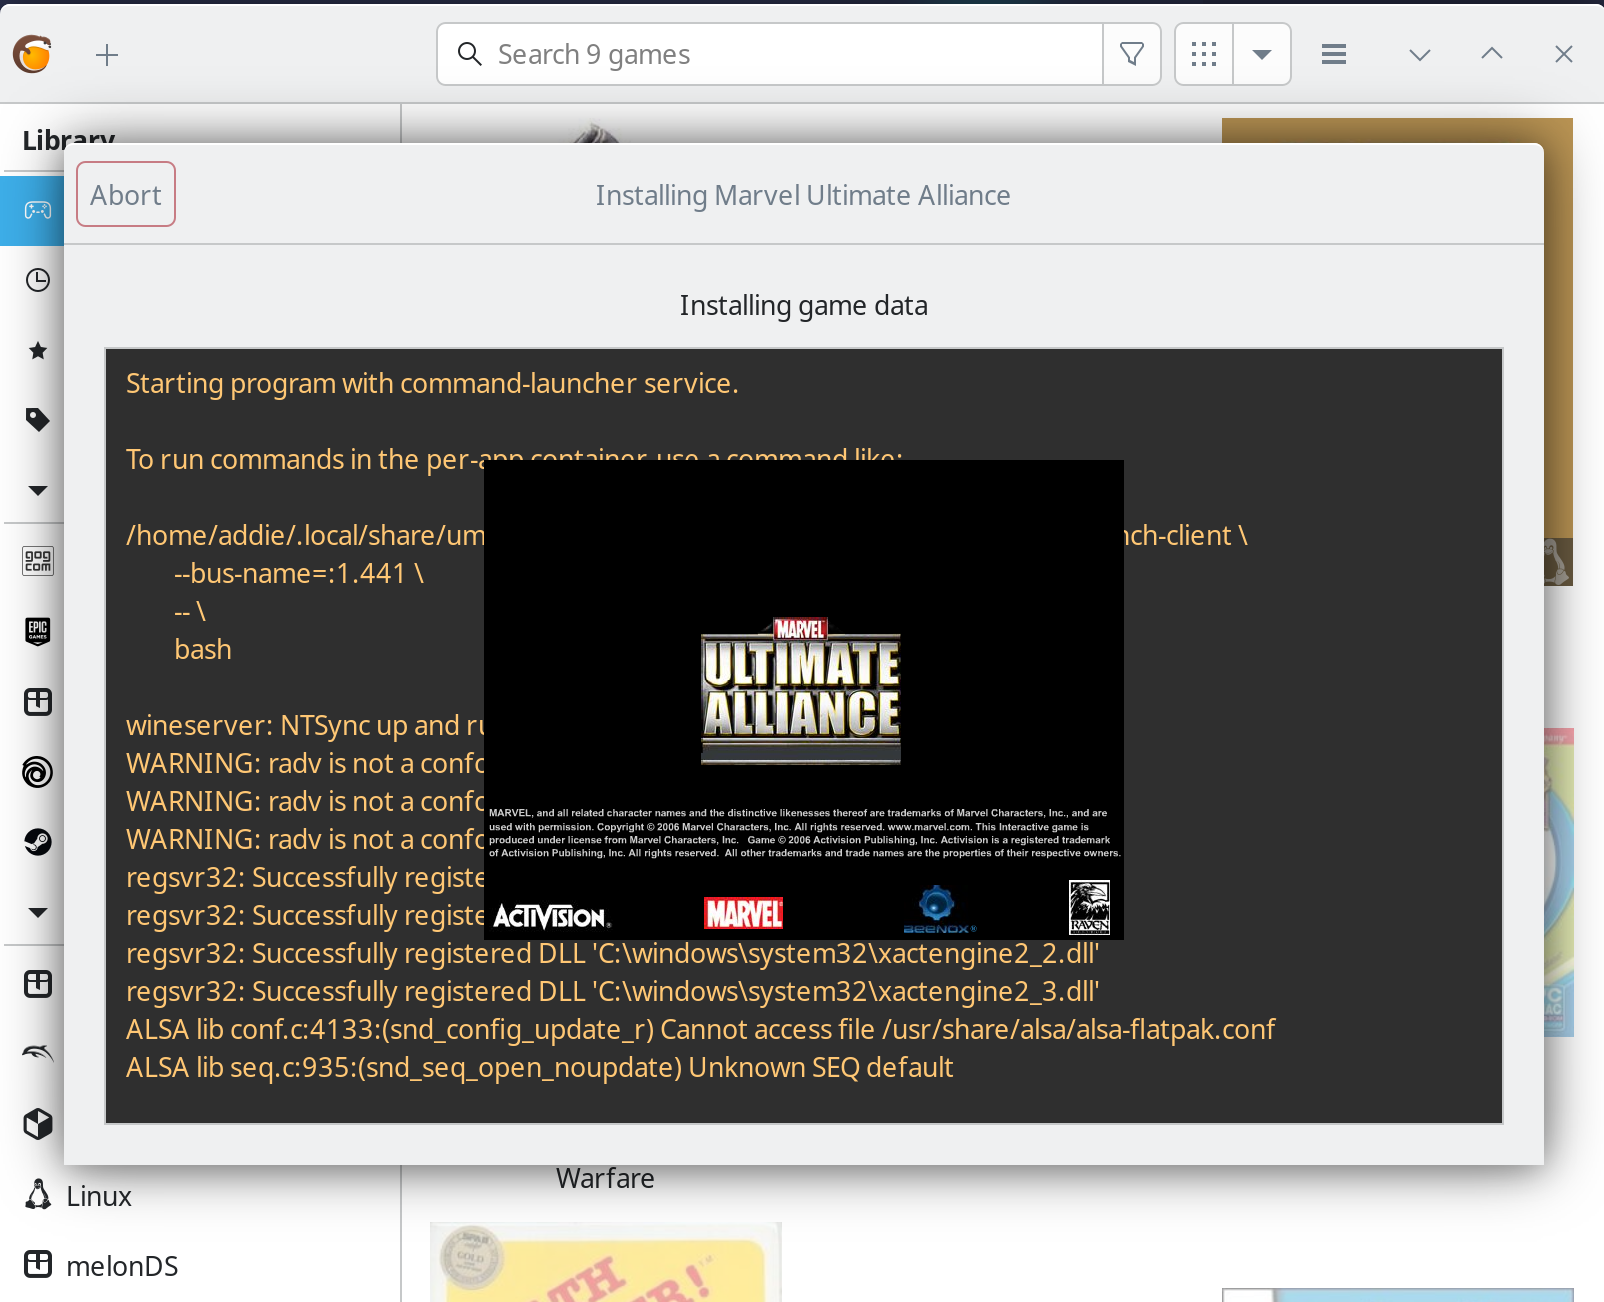
Run Lutris, add a new game, “Install a Windows game from an Executable” and browse to the “Setup.exe” that you extracted. Install the game as normal.
(Use Lutris; I could not get the game to launch added to Steam after installing.)
-
If you got a copy of the game with a crack, replace the Game.exe file installed with the copy from the “Crack” folder.
-
Launch and confirm game is working, close the game.
-
Right-click the game entry in Lutris and click “Configure”. Under “Runner Option” disable E-Sync and F-Sync - this fixes laggy cutscenes.
Modding Time
-
Download the Official Characters Pack: Official Characters Pack 2.4 Released!
-
Extract the downloaded zip to a sub-folder. I do not recommend extracting directly to the install file.
-
Now copy the files from the sub-folder to your game’s install directory from Lutris. (Right-click the Lutris entry and click “Browse Files”. For me, the directory is “/home/addie/Games/marvel-ultimate-alliance/drive_c/Program Files (x86)/Activision/Marvel - Ultimate Alliance/”) Merge and Overwrite any files as prompted.
-
Download the 50 Roster Hack: 50 / 36 / Vital Roster Hack - "The Holy F**kin' Grail"
-
Extract the downloaded zip to a sub-folder.
-
Copy all files and folders except for 50R & 36R Switch folders and optional GE stage folder to your game’s install directory.
-
Start the game, make a NEW save game (do not re-use old save files). On the character select screen, enter the cheats from below to unlock everything.
-
In Lutris, click on the up arrow next to the wine glass and choose “winetricks”. Choose “Select the default wine prefix” then “install a windows dll or component.” Find and select the “dinput8” and click OK.
-
Launch and confirm the game works (controller won’t work). In your file manager, rename “dinput8.dll” in the game directory to “d3d9.dll”.
-
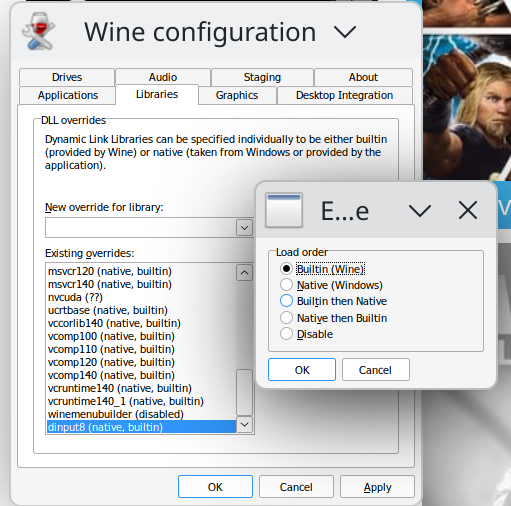
Go back to that up arrow next to the wine glass, select “Wine configuration”. Click the “Libraries” tab. Add “dinput8” in the first box, then find it in the second and hit “Edit.” Change to “BuiltIn (wine)”. Save and close. Game should work fine now with controller uspport!
-
For even more extra content and levels, etc. download the Expanded Game Pack: Expanded Game (EXG) v1.4
-
Again, extract to a sub-folder and copy the files to your game install directory.
-
Enjoy!
There’s a bunch of other mods and skins available here if you wanna poke around: Mod Releases and Conversions
Just make backups of your install folder in case something breaks it!
Cheats to unlock everything
- Unlock All Characters:
Up (2), Down (2), Left (3), Start. - Unlock All Powers:
Left, Right, Left, Right, Up, Down, Up, Down, Left, Right, Start.
(Note: This code only affects the characters you pick on your team, not the whole roster.) - Unlock All Outfits:
Up, Down, Up, Down, Left, Right, Left, Right, Up, Down, Start.