Anode Heart & Anode Heart: Layer NULL (Flash Drive)
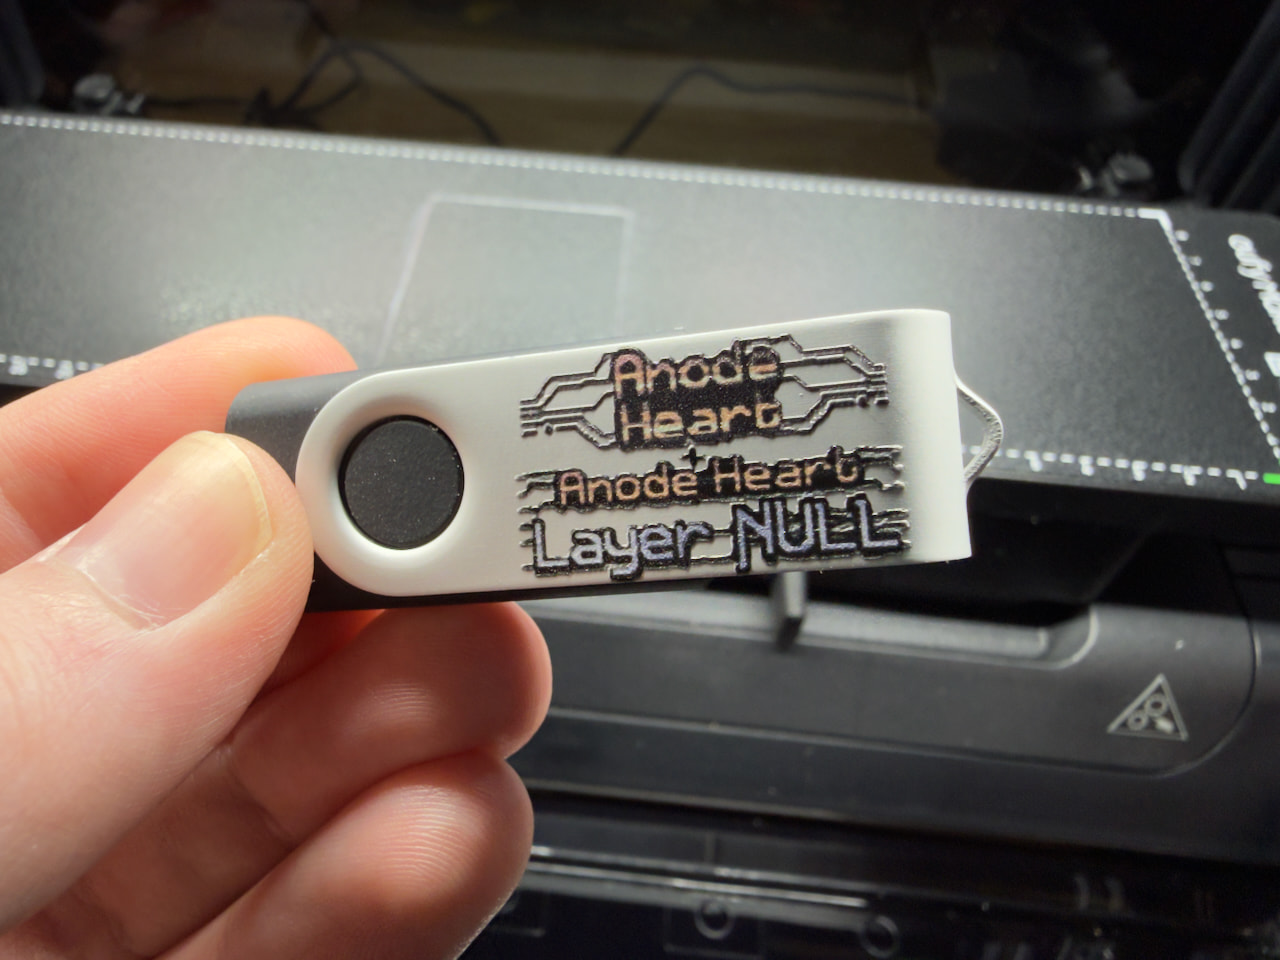
Another direction I wanted to take (mainly inspired by wanting to push my UV printer to off-label uses) was to see what it would look like to put games on a USB flash drive for distribution. Everyone keeps telling me that “most people don’t have optical drives anymore” - even though plenty of people kept their old PC and USB optical drives can still be had for ~$20-30 – so this would be the next most affordable option.
At least, for smaller games. Big 100GB games are going to have to stay digital, I guess, with both BDXLs being expensive and not widely-supported and flash memory skyrocketing in price thanks to AI and datacenter grifters in 2026. But for these two tiny games and their soundtrack? Let’s give it a shot.
Case
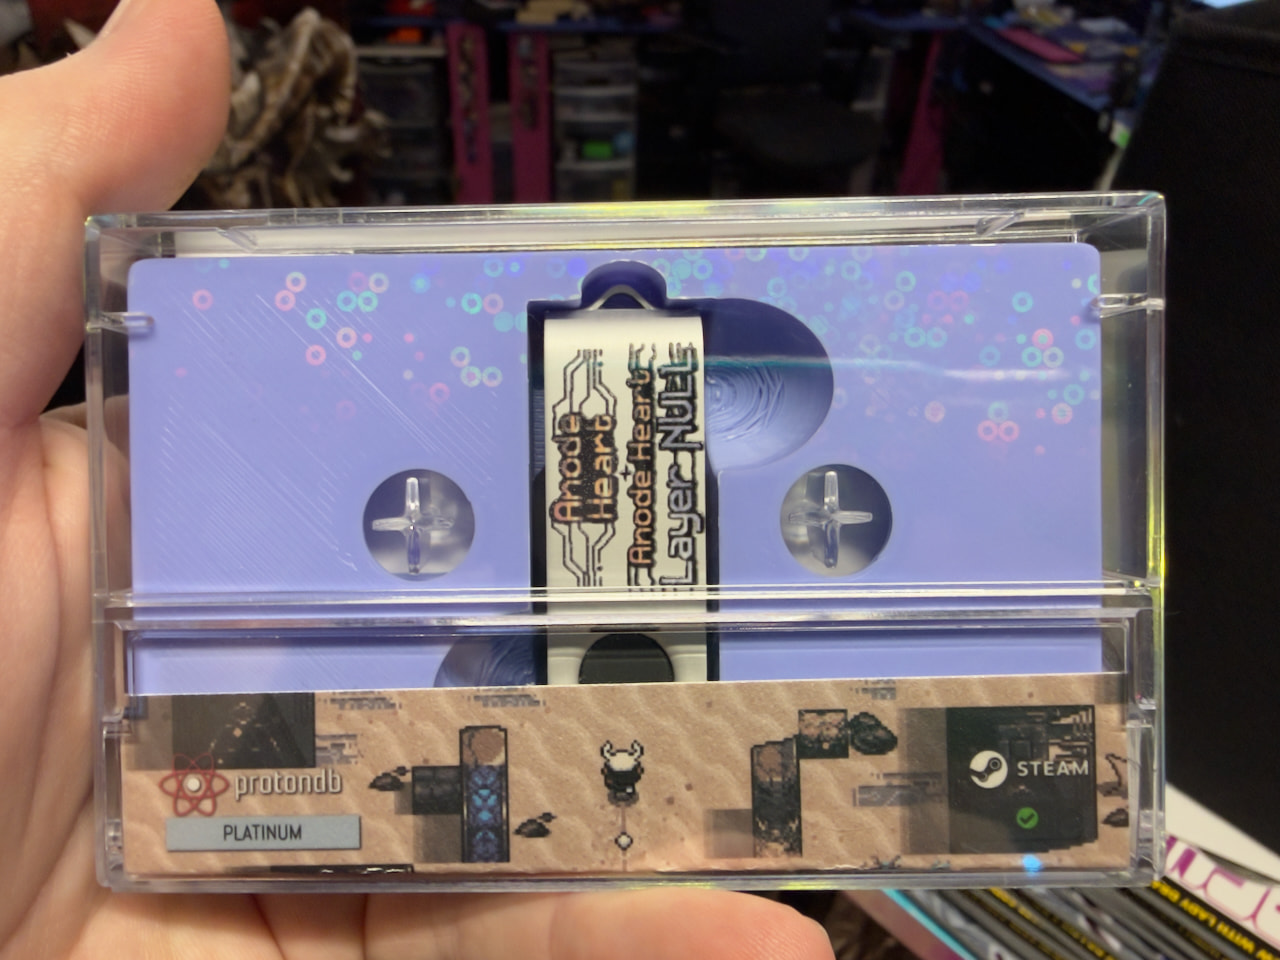
Since the flash drive is so small, the case should be small, too! I’ve seen people use cassette tape cases for Game Boy, Game Boy Color, and Game Boy Advance games, and it kind of made sense to use it again here.
Plus, I already had experience doing a run of cassette tape-style flash drives for a couple of our Backing Track music albums.
Insert
Now, I personally don’t just want the flash drive loose in the case bouncing around. Some might be okay with that, but that just feels cheap to me and kind of defeats the purpose of making case. (I also hate it when disc cases break and the disc just flops around in those, too!)
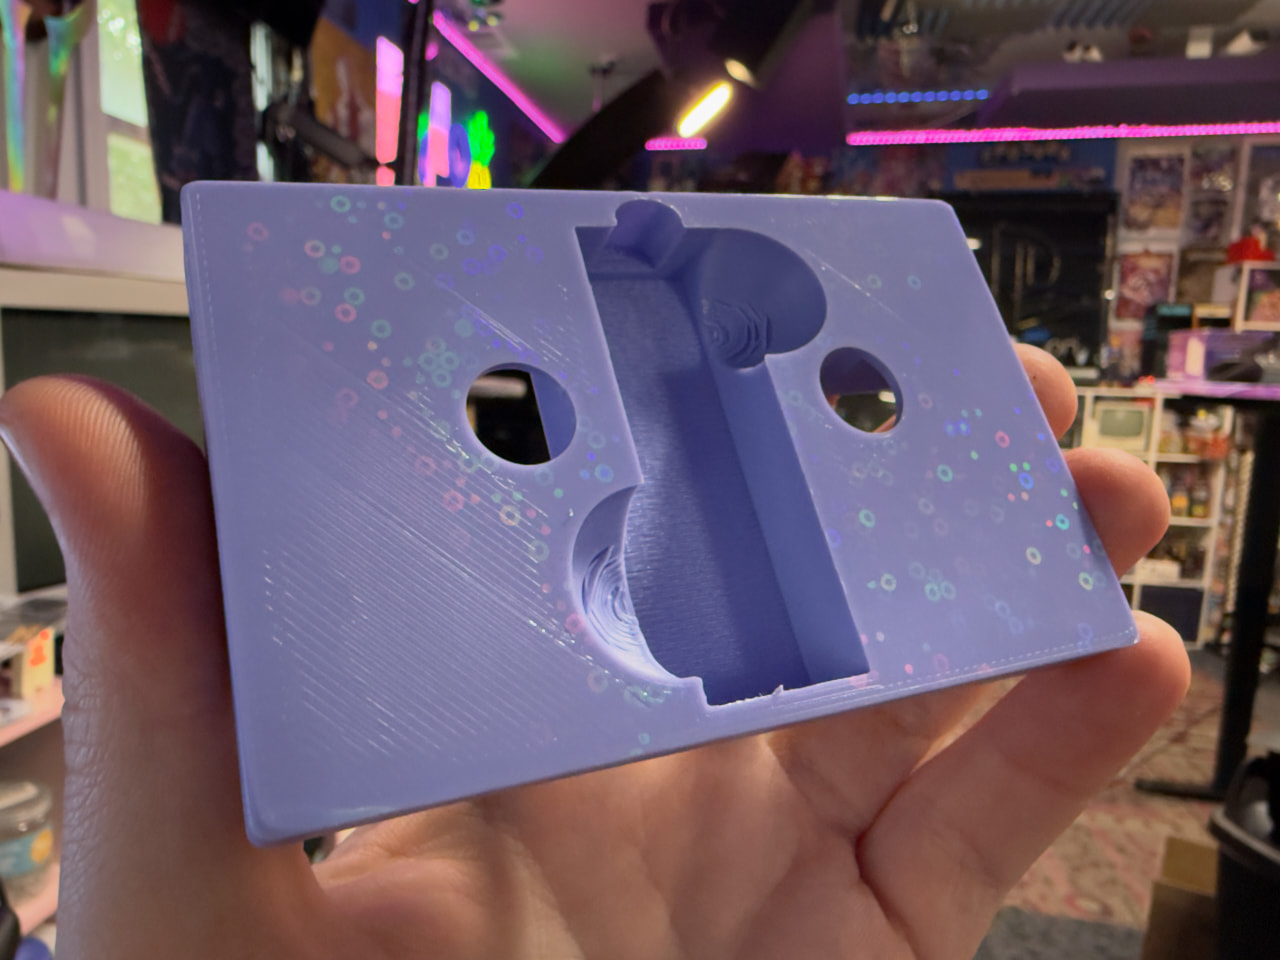
So I needed to design an insert to hold the drive. This could be made of anything, but using what’s readily available to me, I took some measurements, hopped onto TinkerCAD, and drafted up a general idea. A rounded rectangle with a slot for the drive, a couple holes to make it easier to remove, then cutouts for the tape grips. I’m pretty sure you can get tape cases without the spikes that go inside the tape’s holes, but I didn’t have any at all in my tape collection, so I just accounted for it in the design. This took… a few drafts to get right, but by the next day I had something great and ready to go.
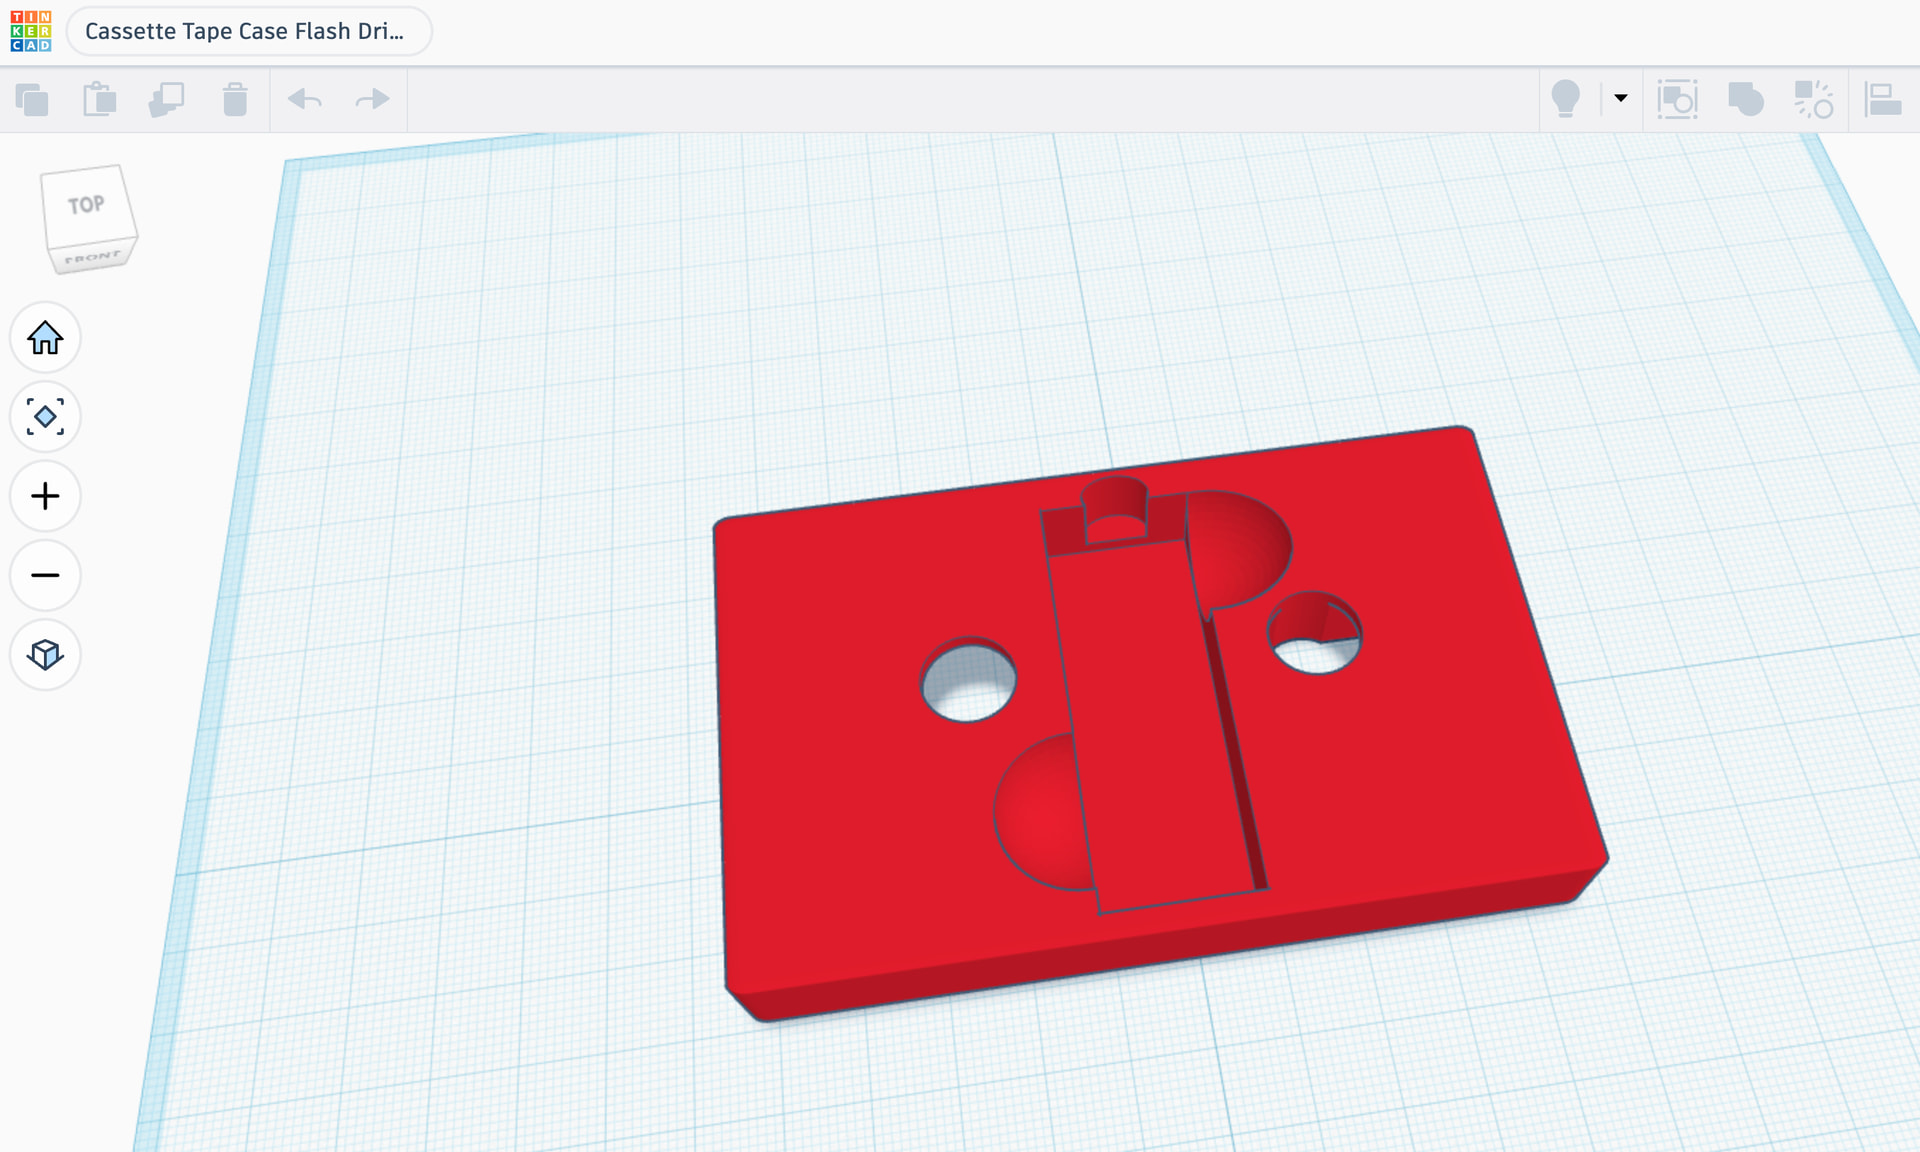
Since I’m nice, I’ve made my TinkerCAD file publicly available here. This will require tweaking for a given flash drive, so it’s not a universal one-size-fits-all thing. There are so many different shapes and sizes for flash drives.
JCard
Next it was time to design the insert. For cassette tapes, this is called a “JCard” – because, well, it’s shaped like a J.
Disc Makers comes in clutch again with a JCard insert template – and other templates for USB drive labelling that could be useful to you.
I opened the template in Affinity and built my designs within the safe zones.
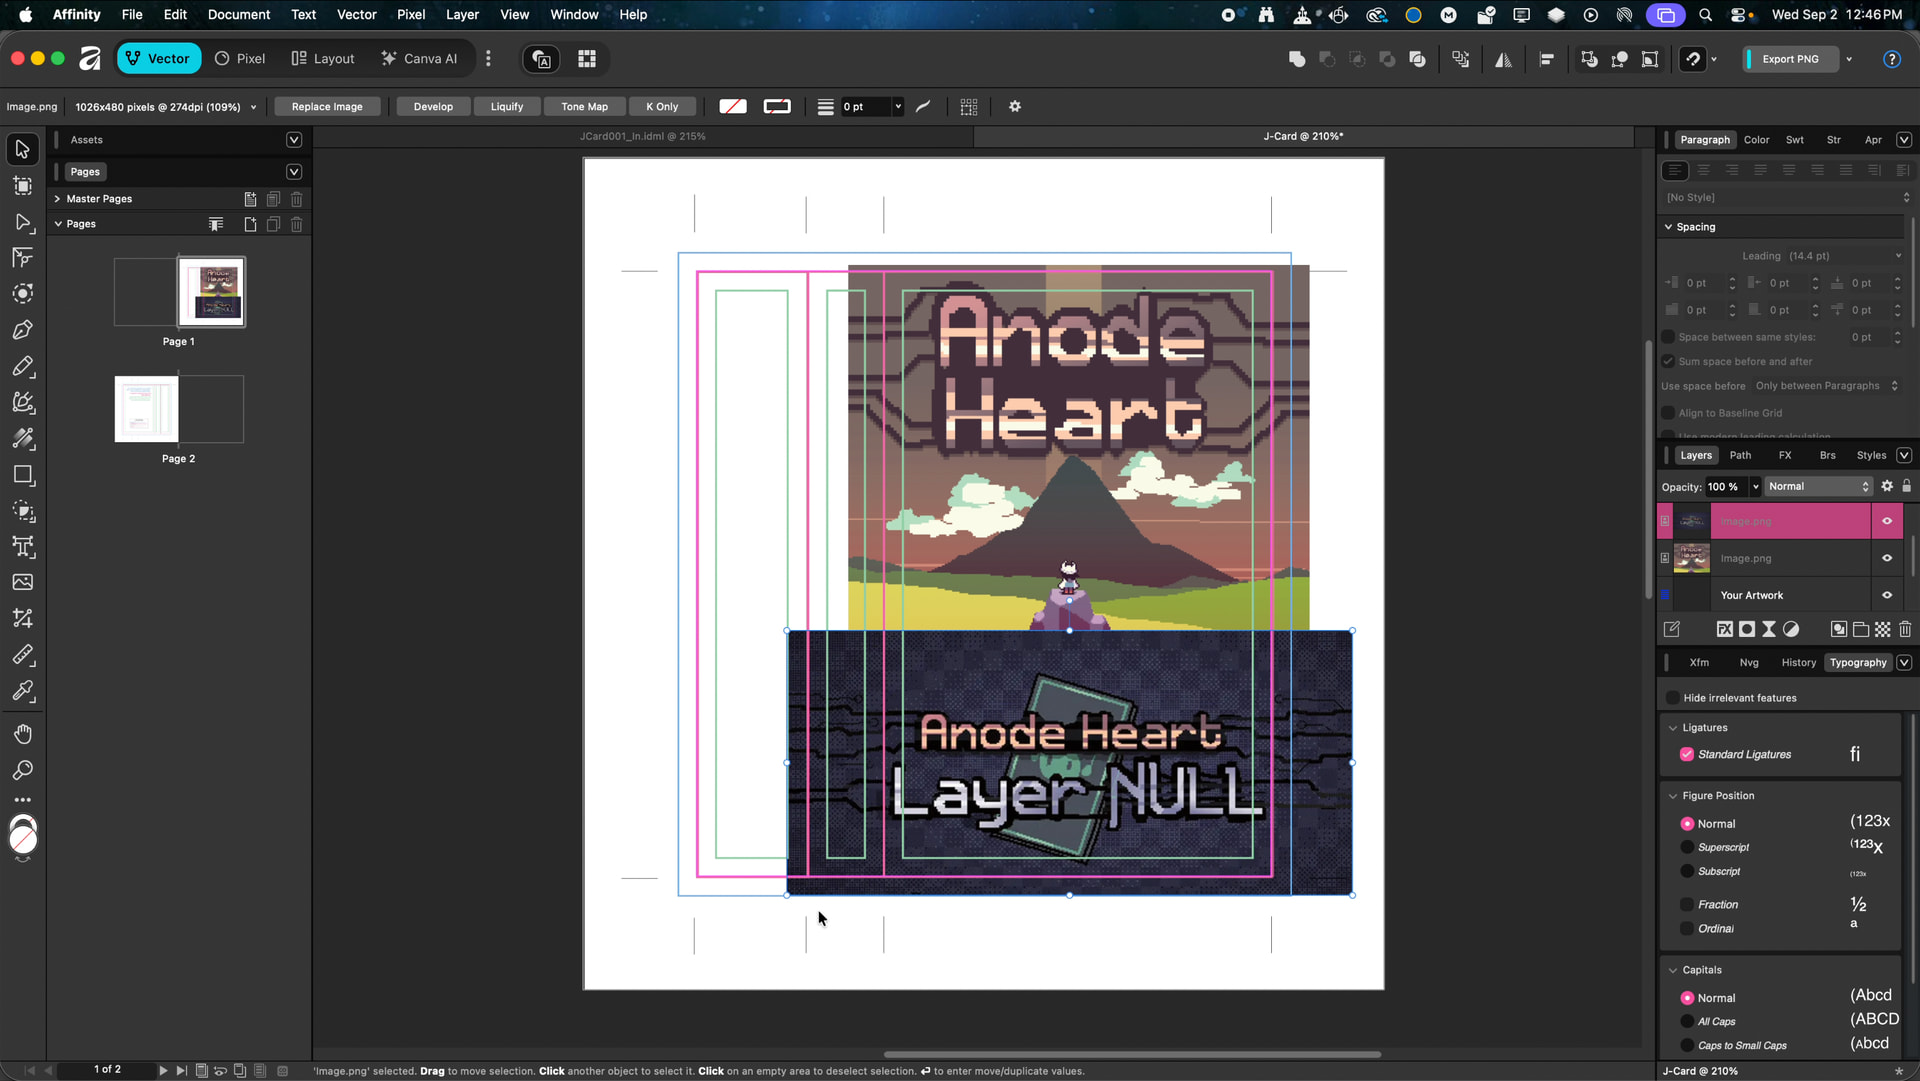
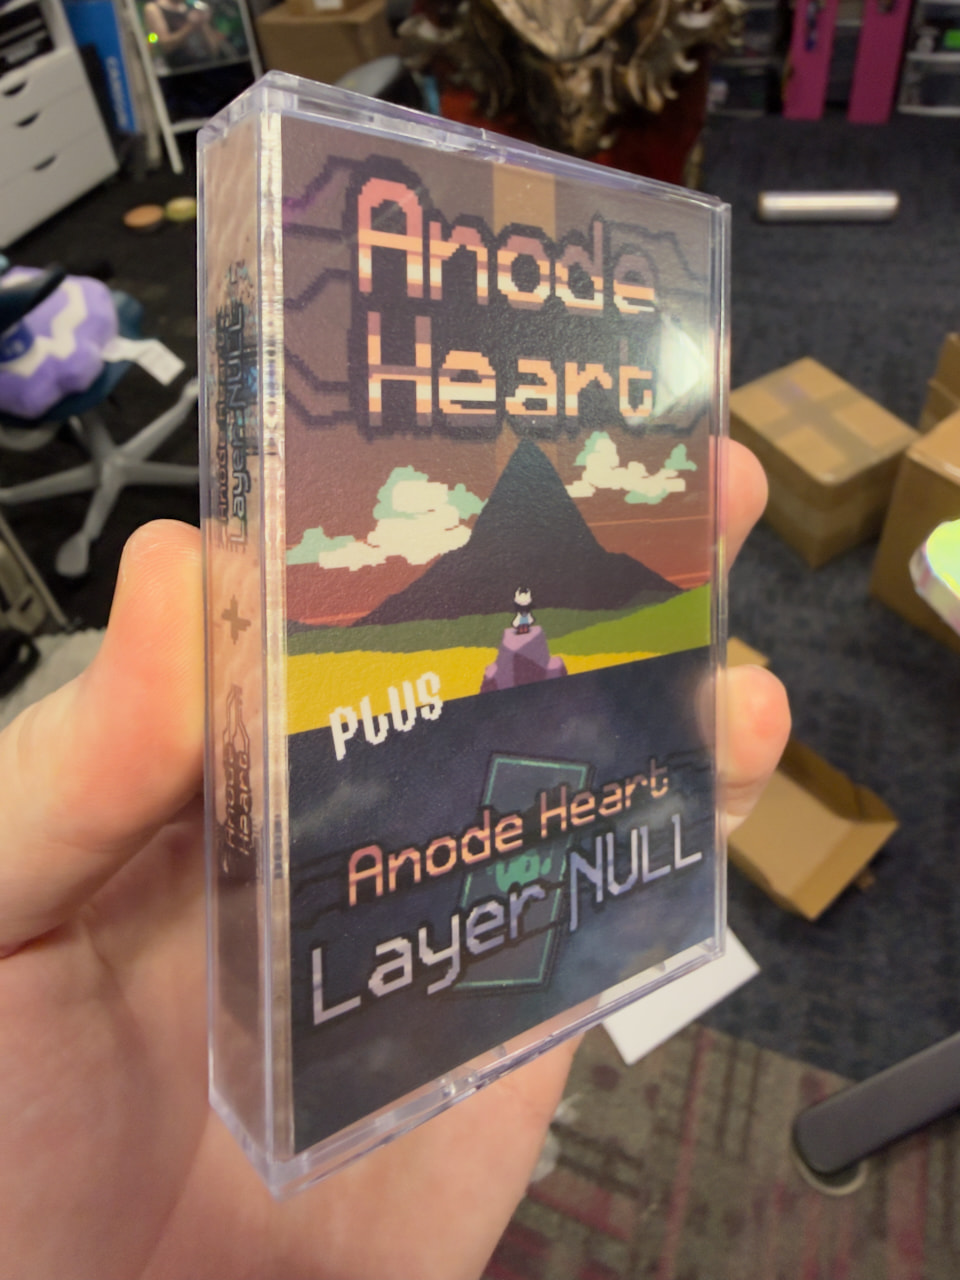
These are games that do not have a ton of assets readily available, but I kept it simple: Key art from SteamGridDB for both games with text that says “PLUS” to show that it’s two games in one again (Layer NULL is a spinoff of Anode Heart so it makes sense to bundle them together).
With cassette JCards, the spine and side label are kind of counterintuitive, the logos should actually face with the bottom towards the front cover and top towards the side back cover, opposite of how disc-based sleeves are usually designed. I just put the logos side by side with a cool pixel font plus sign. Easy.
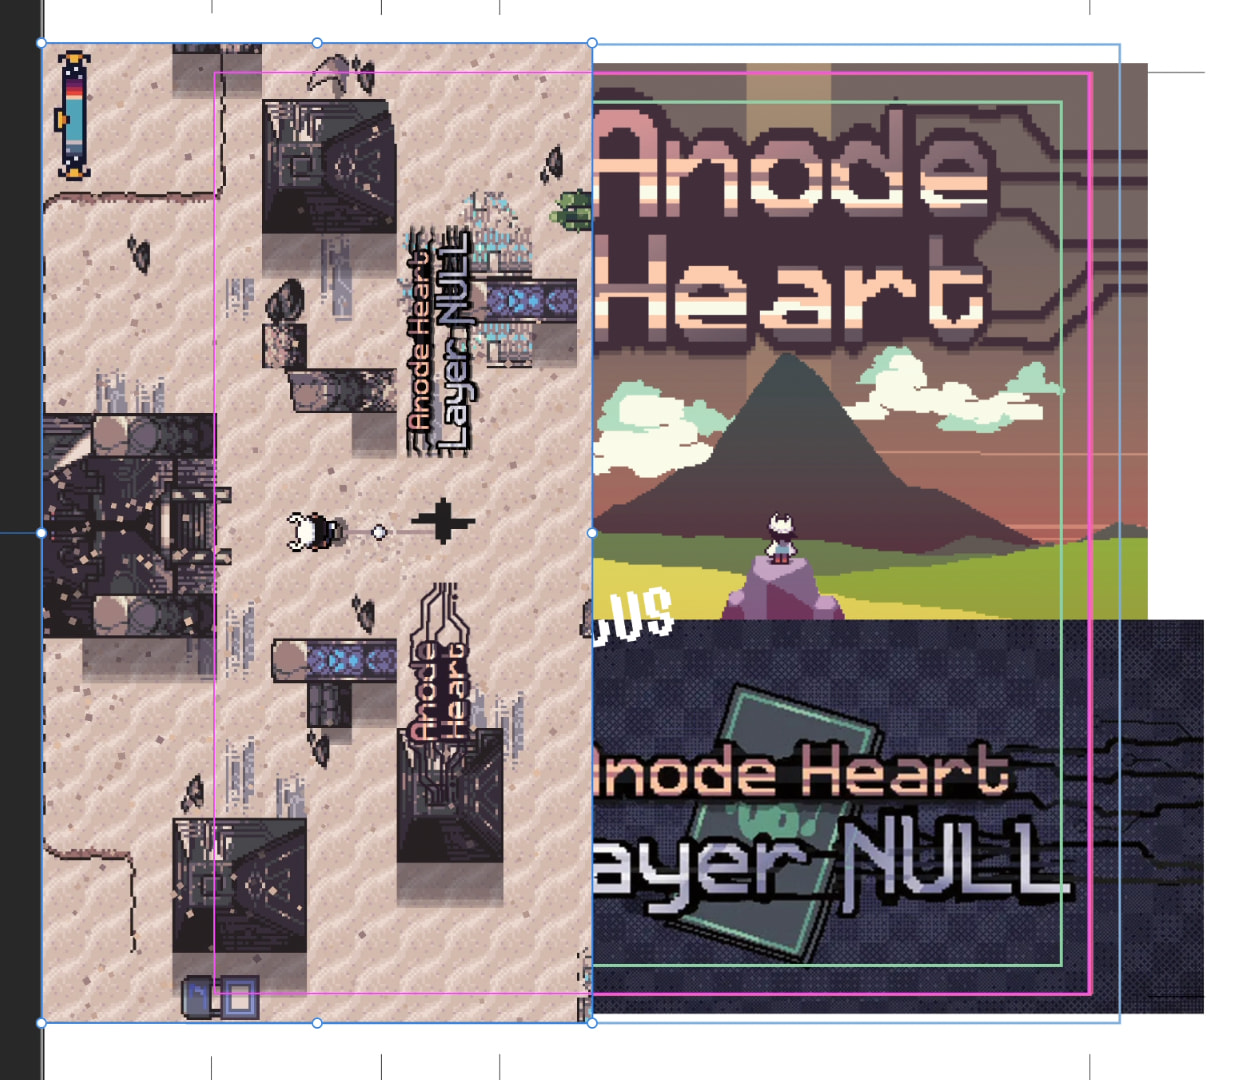
Then I found a screenshot from Anode Heart that I thought was simple enough to serve as both a focused piece and the background, while compositionally letting me position the logos, ProtonDB rating and Steam Deck rating on them.
To print the JCard, I used my big Canon printer and this super fancy art paper called “Photo Rag Metallic” from Hahnemühle. This is designed for photography and fine art – and is quite expensive, mind you – and produces a metallic sheen without compromising on the image quality, akin to Epson’s Luster paper type. I’ve been obsessed with Luster-style paper for a while now, and while it’s expensive, I want so many things printed on it. I used it as the test prints for my personal copies of the Synth Rock USB Cassette JCards and think they work really well for a unique presentation here.
Flash Drive Design
Not content stopping there (and being the source of inspiration for this particular project), I wanted to test my EufyMake E1 UV Printer printing on the flash drive directly.
I took some basic measurements of the flat metal area with my calipers and made an art board of that size in Affinity. One side got the two logos, the other side got a screenshot. I just had to remember to go to Document → Setup → Transparent Background to export a transparent PNG since I want there to be no background when printing on the UV printer.
I also scanned in the flash drive so I could preview the image on it before committing.
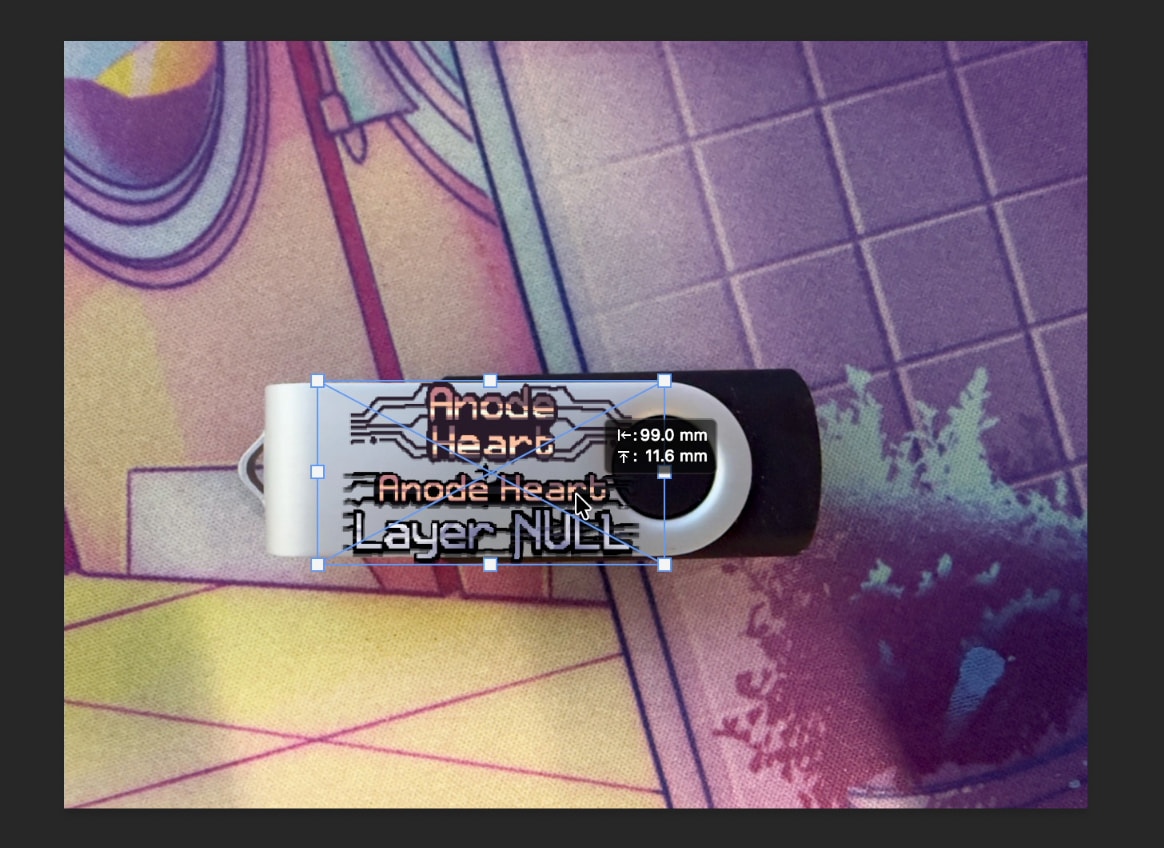
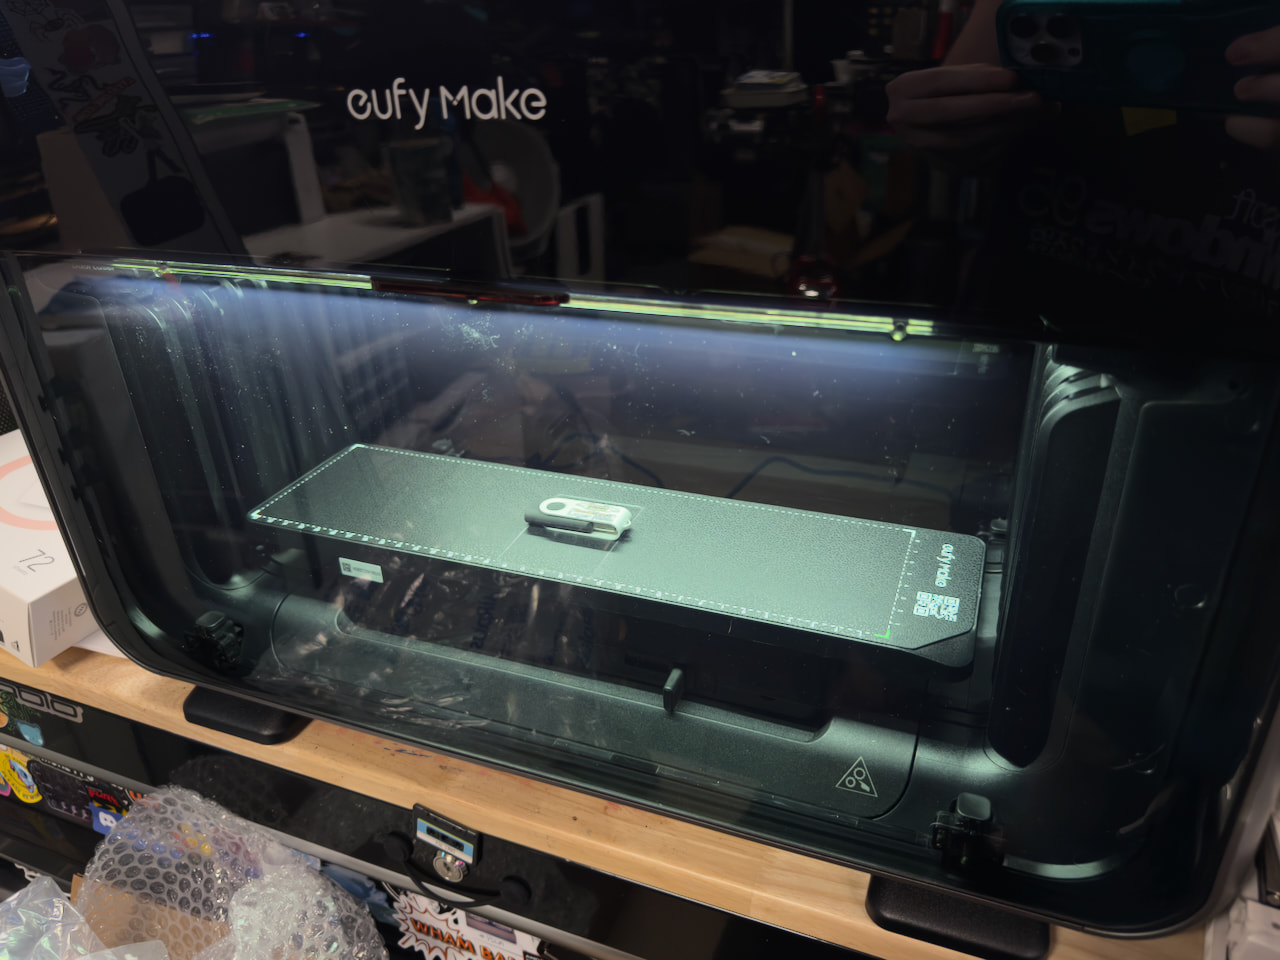
Then I put the flash drive on the print bed in the E1, used the snapshot feature to take a photo of it and line it up, and told it to print. The automatic contour detection sucks on this, but manual alignment on the computer is fine. This was on “Normal” quality, not the “High Quality” mode and while the resolution at this small of a scale isn’t amazing, it honestly looks great and I’m very happy with the result. I went back and added a cutout of the main character to the inner circle on both sides of the drive, too.
Put it all together and you have a really neat complete package for a completely unique physical game experience!
Flash Drive Files
Again, AutoRun can be handled by a .inf file (or omitted entirely) but I wanted to play around with making the menu.
I grabbed the game files for Anode Heart and Anode Heart: Layer NULL from my Steam installation and the soundtrack for Layer NULL . (Sadly it only delivers in low bitrate MP3 instead of FLAC. Very disappointing – but hey, the flash drive is rewriteable should they ever update it!)
Testing the games on another PC and it seems that Layer NULL does not have any DRM, but the base Anode Heart game does. Disappointing, but once again I have no problem acquiring an unlocked and liberated copy of a game I’ve already paid for to use in its place. These are tiny games, so I could include the original and unlocked copy if I wanted, I could do a lot here.
SamLogic also sells a USB AutoRun Creator like their CD-Menu Creator, so I wanted to try that out.
It was… disappointing, to say the least. They built this program to circumvent Windows blocking AutoRun by using their own signed executable that then launches your desired one, but it only supports a single option, no menu, no secondary actions, nothing. You’d be better off using the normal CD-Menu Creator or building your own .inf file. So let’s do that.
BONUS TIP : If you can’t find an icon online for a game, open the .exe file in 7-zip and you can find some in the “.rsrc” folder in there. They may not have file extensions and those may need to be added. I’ve extracted the icons for Anode Heart and Layer NULL and submitted them to SteamGridDB [Anode Heart, Anode Heart: Layer NULL] .
So let’s just build our own INF file, huh?
On our drive, our file structure will be:
Root:\
- Games
- Anode Heart (DRM-Free)
- Anode Heart Layer NULL
- OST
- Anode Heart Layer NULL OST
- Extras
- Icons
- Anode Heart
- Anode Heart Layer NULL
- Icons
And I want my AutoRun file to give me the option to play both games and play the music. So our file would look like this:
[autorun]

open=Games\Anode Heart (DRM-Free)\AnodeHeart.exe

shellexecute=Games\Anode Heart Layer NULL\LayerNull.exe

icon=Extras\Icons\Anode Heart\icon1.ico

label=Anode Heart & Layer NULL

[content]

Game 1=Games\Anode Heart (DRM-Free)\AnodeHeart.exe

Game 2=Games\Anode Heart Layer NULL\LayerNull.exe

Soundtrack=OST\Anode Heart Layer NULL OST
Copy this and your files to your flash drive, safely remove it, plug it back in and see if it worked! You may need to tweak your Windows AutoRun settings to allow it.
But even then, most of the options will only work on older versions of Windows, but having the custom icon is cool! I wish that worked for Linux and Mac.